Choosing Flood Lights for DIY Projects
Bright, reliable outdoor lighting is a quiet multiplier for safety and curb appeal!
Statistics show outdoor lighting after dusk reduces blind spots and deters intruders, making your property feel instantly safer. For flood lights diy setups, the right choice blends performance with weather resilience, especially in South Africa’s changing seasons.
Choose fixtures that spread light where it’s needed without glare. The core choices are beam angle, wattage, LED efficiency, and IP rating. Here’s what to weigh:
- Beam angle and coverage
- Weather sealing (IP rating) and build quality
- Color temperature and CRI for true greens and browns
The right integration also hinges on mounting options, compatibility with existing wiring, and local codes—elements that shape the footprint of any DIY project.
Finally, plan for maintenance and bulb life. Long-lasting LEDs reduce repeat replacements, a practical edge for budget-conscious projects. The setup should blend visibility, security, and energy sense.
Safety and Compliance for Outdoor Flood Light Installations
Night security is a quiet art, and the metrics are clear: properly lit exteriors reduce risk and invite evening life. In South Africa, a thoughtful outdoor plan blends safety with character, and the discipline of flood lights diy is part of that craft. Compliance isn’t a hurdle; it’s the backbone of lasting illumination. Local authorities expect weatherproof fixtures, correct cabling, and sound mounting practices, all aligned with national standards.
To keep your project in the light, here is a concise checklist:
- SANS 10142-1 electrical standards compliance
- Outdoor IP rating and rugged construction to withstand sun and rain
- Permits and local bylaws for outdoor lighting installations
These safeguards ensure safety, peace of mind, and a respectful glow across your property.
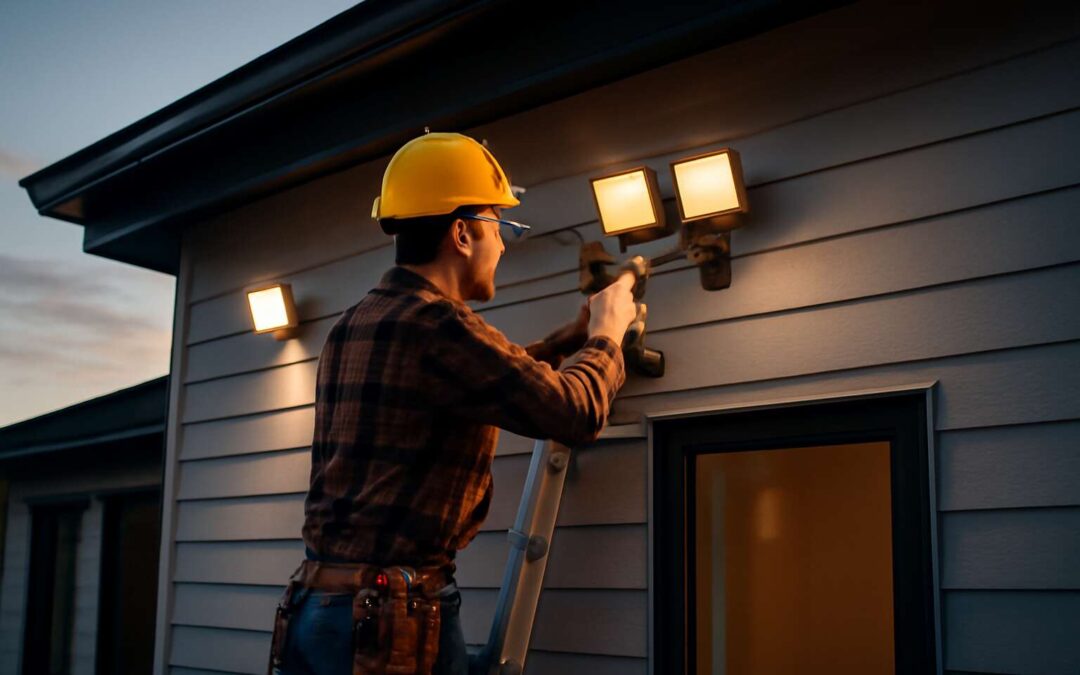
Wiring, Mounting, and Electrical Diagrams for Outdoor Flood Lights
Even in the soft South African twilight, the right wiring makes beauty endure. Proper mounting turns exteriors into safe stages after dark, reducing hazards and inviting evening life. A well-conceived plan curbs dim spots by up to a third, a statistic that keeps the heart of a home awake.
For the flood lights diy enthusiast, the map begins with clear electrical diagrams and thoughtful routing. Choose between mains runs or low-voltage schemes, and favor weatherproof enclosures and conduit. Materials should answer durability: IP-rated boxes, gland seals, and anti-corrosion fixings.
- Structured cable routes
- Weatherproof connections
- Clear diagram labeling
Mounting is sculpture: secure angles, wind resilience, and discreet cable management. Diagrams act as a compass, translating ambition into safe execution and effortless troubleshooting. In the end, flood lights diy becomes a language of shade and shelter, where every joint and cable whispers of care and craftsmanship.
Placement, Design, and Energy Efficiency of Outdoor Flood Lights
As dusk settles over a South African yard, the right beam banishes shadows and invites life to the outdoor room. A well-planned glow deters mischief and spotlights gatherings, flood lights diy comes to life when placement becomes poetry in light.
Position fixtures to cover walkways and corners with overlapping beams, not harsh pillars. A slight downward tilt curbs spill toward bedrooms and windows. Weatherproof housings keep cables neat, turning installation into quiet stewardship.
Design favors balance as much as brightness. Choose warm-to-neutral temperatures (2700–4000K) and shields to soften edges. Durable materials finish the look with quiet elegance.
Energy efficiency favors LEDs and smart sensors—illumination only on when needed. Solar-ready options and IP-rated seals endure our climate, delivering long, safe, sustainable evenings.